Visual Materials
Big Creek #1 - Penstock Break P1L2 (4/6/46)

You might also be interested in

Big Creek #1 - Views after Penstock Break P1L2 (4/6/46)
Visual Materials
Big Creek #1 - Views after Penstock Break P1L2 (4/6/46) - Down lines 1 & 2 at anchors Station 77+13.
photCL SCE 02 - 26532A

Big Creek #1 - Penstock Break P1L2 (4/6/46)
Visual Materials
Big Creek #1 - Penstock Break P1L2 (4/6/46) - General view of penstocks after break.
photCL SCE 02 - 26530

Big Creek #1 - Penstock Break P1L2 (4/6/46)
Visual Materials
Big Creek #1 - Penstock Break P1L2 (4/6/46) - View of debris.
photCL SCE 02 - 26524A

Big Creek #1 - Penstock Break P1L2 (4/6/46)
Visual Materials
Big Creek #1 - Penstock Break P1L2 (4/6/46) - Top corner of anchor for lines 1 & 2 at station73+44.
photCL SCE 02 - 26517
Big Creek #1 - Penstock Break P1L2 (4/6/46)
Visual Materials
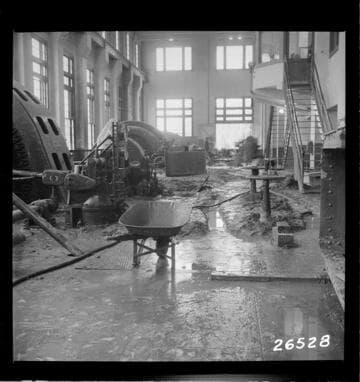
Big Creek #1 - Penstock Break P1L2 (4/6/46) - Inside Powerhouse.
photCL SCE 02 - 26528
Big Creek #1 - Penstock Break P1L2 (4/6/46)
Visual Materials
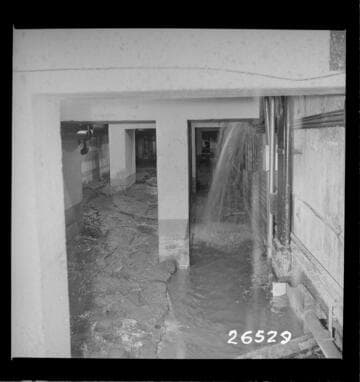
Big Creek #1 - Penstock Break P1L2 (4/6/46) - Inside Powerhouse.
photCL SCE 02 - 26529