Visual Materials
Big Creek #1 - Penstock Break P1L2 (4/6/46)

You might also be interested in

Big Creek #1 - Penstock Break P1L2 (4/6/46)
Visual Materials
Big Creek #1 - Penstock Break P1L2 (4/6/46) - boulders and debris around Unit #1.
photCL SCE 02 - 26526A

Big Creek #1 - Penstock Break P1L2 (4/6/46)
Visual Materials
Big Creek #1 - Penstock Break P1L2 (4/6/46) - View of debris.
photCL SCE 02 - 26524A

Big Creek #1 - Penstock Break P1L2 (4/6/46)
Visual Materials
Big Creek #1 - Penstock Break P1L2 (4/6/46) - Boulders lodged against Line #3.
photCL SCE 02 - 26521A

Big Creek #1 - Penstock Break P1L2 (4/6/46)
Visual Materials
Big Creek #1 - Penstock Break P1L2 (4/6/46) - General view of penstocks after break.
photCL SCE 02 - 26530
Big Creek #1 - Penstock Break P1L2 (4/6/46)
Visual Materials
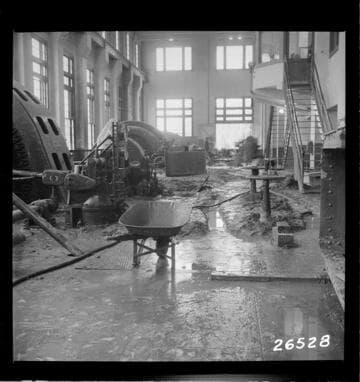
Big Creek #1 - Penstock Break P1L2 (4/6/46) - Inside Powerhouse.
photCL SCE 02 - 26528
Big Creek #1 - Penstock Break P1L2 (4/6/46)
Visual Materials
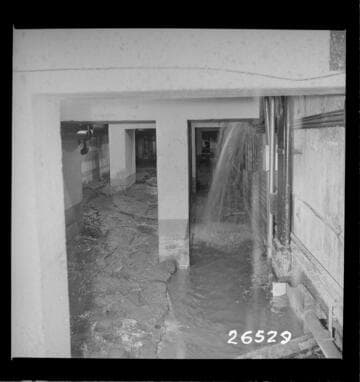
Big Creek #1 - Penstock Break P1L2 (4/6/46) - Inside Powerhouse.
photCL SCE 02 - 26529